We have you figured out. You’re someone who flirts with the idea of camping but – as it wasn’t a part of your childhood – you’ve consigned it to the ‘I’ll do it one day’ category. It’s sitting alongside ‘go skydiving’ and ‘try karaoke sober’.
And we also know what most terrifies you about camping: you don’t know how to set up a tent. We get it – it’s like admitting that you’ve never seen Star Wars. You expect to be judged, ridiculed, and de-friended.
There’s no need to worry – we’re here to help. Our top tips for setting up a tent will ensure you’re an expert at it in no time.
Check that you have all the relevant equipment
In order to successfully set up a tent, you should have the following:
Invest in additional items
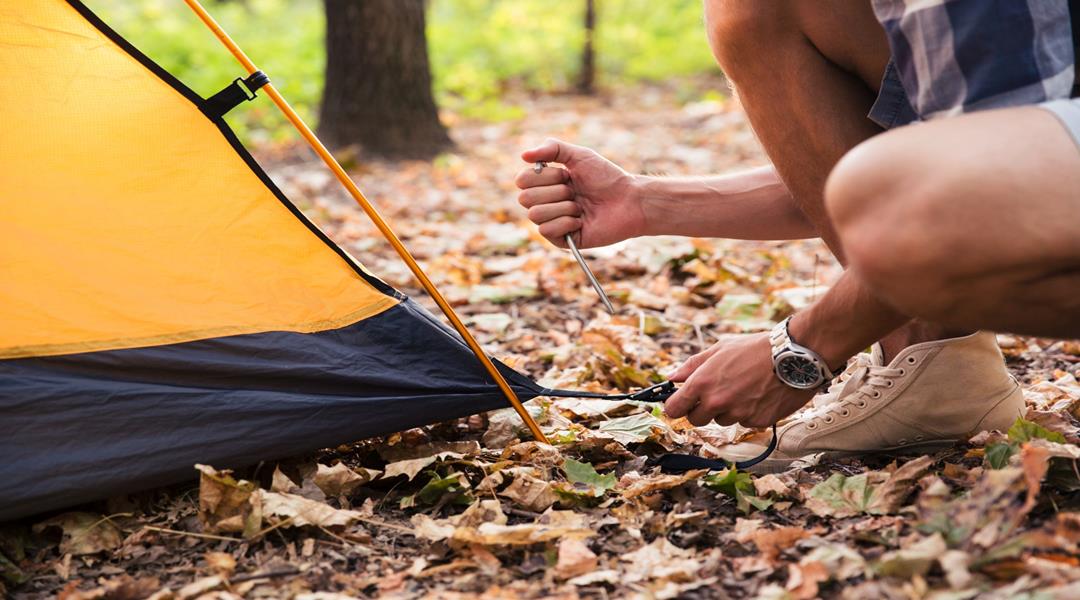
To set up a tent with ease, get your hands on a mallet for hammering those all-important tent pegs into the ground. Take that advice even further and grab a designated tent peg mallet. These come with a peg remover, which is handy when it comes to disassembling your tent.
Also carry a hand-held brush. It is ideal for sweeping out your tent and brushing down your tent base or tarp at the end of the break.
Read the instructions
It’s such a basic tip for putting together a tent but one that we can’t stress the importance of enough – follow the instructions. Don’t cut corners, don’t be stubborn, and don’t fall into the trap of believing you know an easier way.
Label the poles
No, we’re not talking about giving nicknames to your eastern European friends; rather this tip is all about avoiding confusion and time. Some tents come with tent poles of different lengths, and when they are all jumbled up it can be tough to differentiate them, which only adds more time to the process. To make setting up easier and more efficient, place tape of the same colour around poles of the same length.
Set up the tent at home
The old adage ‘practice makes perfect’ is the best tip when learning to set up a tent. And there’s no better place to practice than in your own backyard; away from judging eyes. Put yourself in a comfortable environment where you can take your time and where it doesn’t matter if you make mistakes. Just be sure to choose a patch of turf that’s big enough to accommodate your tent.
As an added bonus, taking this tip also allows you to practice putting the tent back in its bag, which can pose a whole new challenge!
Allow plenty of time
When it comes to hitting the road, factor in extra time to set up the tent when you reach your destination. More importantly, be sure to arrive at your BIG4 campsite while it’s still light. Bruce Springsteen sings about Dancing in the Dark because even he knows it’s much, much better than Setting up a Tent in the Dark.
Clear the ground
Before you start setting up your tent, check that the ground is level and clear of sticks, nuts, pebbles, and other objects. This way, you should have a comfortable base for sleeping. BIG4 staff regularly maintain sites but it’s worth double-checking the ground on the off-chance that any rogue items are lingering.
Dead branches
If camping near trees, look for any dead branches that might be in danger of falling on your tent. BIG4 park managers regularly inspect trees in the area and will ensure licensed arborists inspect the surrounds. However, it pays to conduct your own check, and if you have concerns speak to the park manager before setting up your tent.
Lay down a tarp
Once you’ve identified a clear patch of ground, place a tarp on it. The tarp will provide an extra layer of protection between the ground and your tent, which will prevent moisture seeping into your home away from home.
That’s not all that a tarp is good for. This versatile beast also helps to smooth out the ground, which provides extra comfort. In addition, a tarp prevents the base or underside of your tent from getting dirty, wet, or dusty when you pack it up (and it’s easier to clean a dirty tarp than it is a dirty tent).
Putting up the tent
Now we get to the nitty gritty – the process of setting up your tent. This procedure will differ from tent to tent, but here is a basic rundown for assembling a modern-day dome tent:
Involve others in the process
If you are camping with children, this point is even more important to prevent your frustration levels from reaching code red. Give children simple tasks, like holding pegs or handing you tent poles, and talk them through the process so that they feel involved.
Collect your tent pegs
When packing up your tent, it can be easy to lose tent pegs in the grass or presume that someone else has grabbed them. To avoid being peg-less, count all the tent pegs before packing them away. Also straighten out any bent pegs with your mallet so you don’t forget to do it later.
Clean your tent
To make it easier for your next camping trip, dry and brush down your tent while at the BIG4 campsite. If you’re packing up early in the morning, there may be condensation on your tent.
If you’re drying your tent at home, place it on the clothesline or an outdoor table. Taking care of your tent will help to preserve its life and ensure it’s ready to go for your next camping trip. Because there will be a next time. Right?
Isn’t it time you embraced nature? Remember, camping adventures begin with BIG4.


